Blanket Stitch
The blanket stitch is a popular stitch, used to make a decorative edge. You can change the effect of the end product by changing the length in between stitches, and the depth of the stitch.
Here is a video tutorial for a blanket stitch- a picture tutorial follows.
Step by step photo tutorial:

1. Thread a needle with embroidery floss. Tie a knot in one end. Put needle through felt (from in between layers).

2. Put needle through both layers of felt, about 1/4" away from your first stitch.
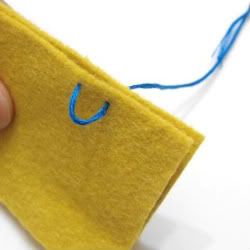
3. Pull thread until you have a small loop left.
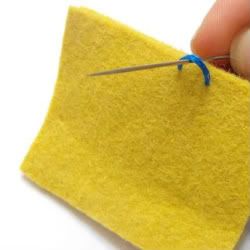
4. Put needle through loop, from behind.
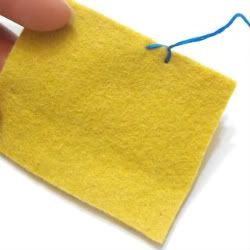
5. Pull thread until your stitch is snug. Don't pull too hard, or your fabric will bunch.
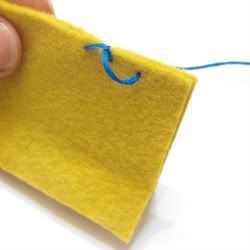
6. Put needle through both layers again, the same distance (1/4") apart.
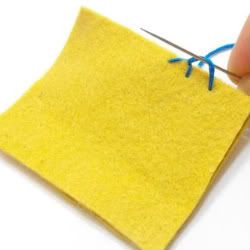
7. Put needle through loop from behind. Continue this process until you are finished.
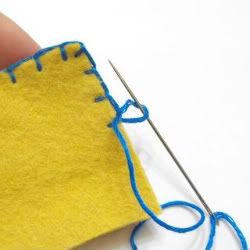
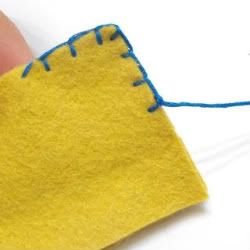
For a corner- the stitch needs to be pulled, so the floss lays at a diagonal as shown:
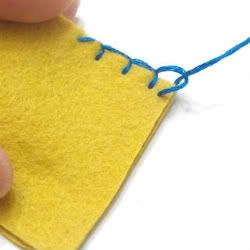
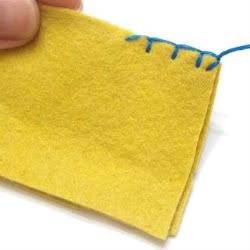
When finished, tie a knot to one of the last stitches, and put needle in between layers of felt- clip excess floss.
For a whip stitch tutorial, click here.




3 comments:
Clear tutorial, thank you
Marie x
I definitely used this tutorial to make a project I plan on post on my blog tomorrow. Super helpful and clear- thanks!
I have added a link to your tutorial on my recent post! It was the clearest, most obvious tutorial I could find.
Thank you!!!!
Post a Comment